STEP ONE- I first uploaded the image onto photoshop.
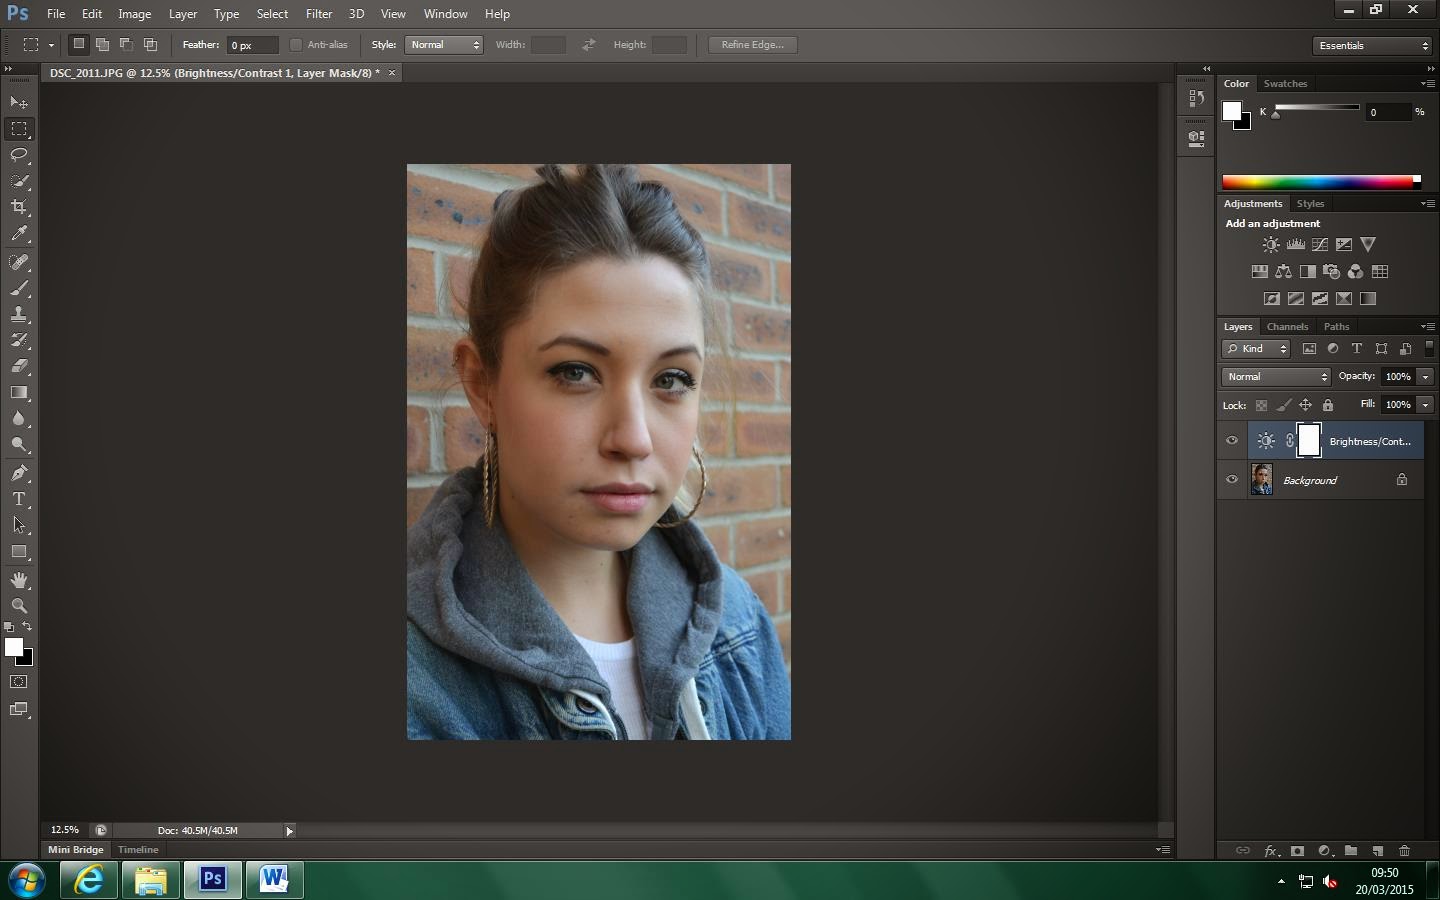
STEP TWO- I then brought the brightness and contrast higher.

STEP THREE- I then brought the saturation up to enhance the colours.

STEP FOUR- I then increased this by also bringing up the vibrance.

STEP FIVE- I then used the spot healing brush tool to remove any spots/blemishes and wrinkles.

STEP SIX- I then zoomed in and used the clone stamp tool to air brush her face by selecting the colour and brusing it onto her face to achieve an even smooth skin tone.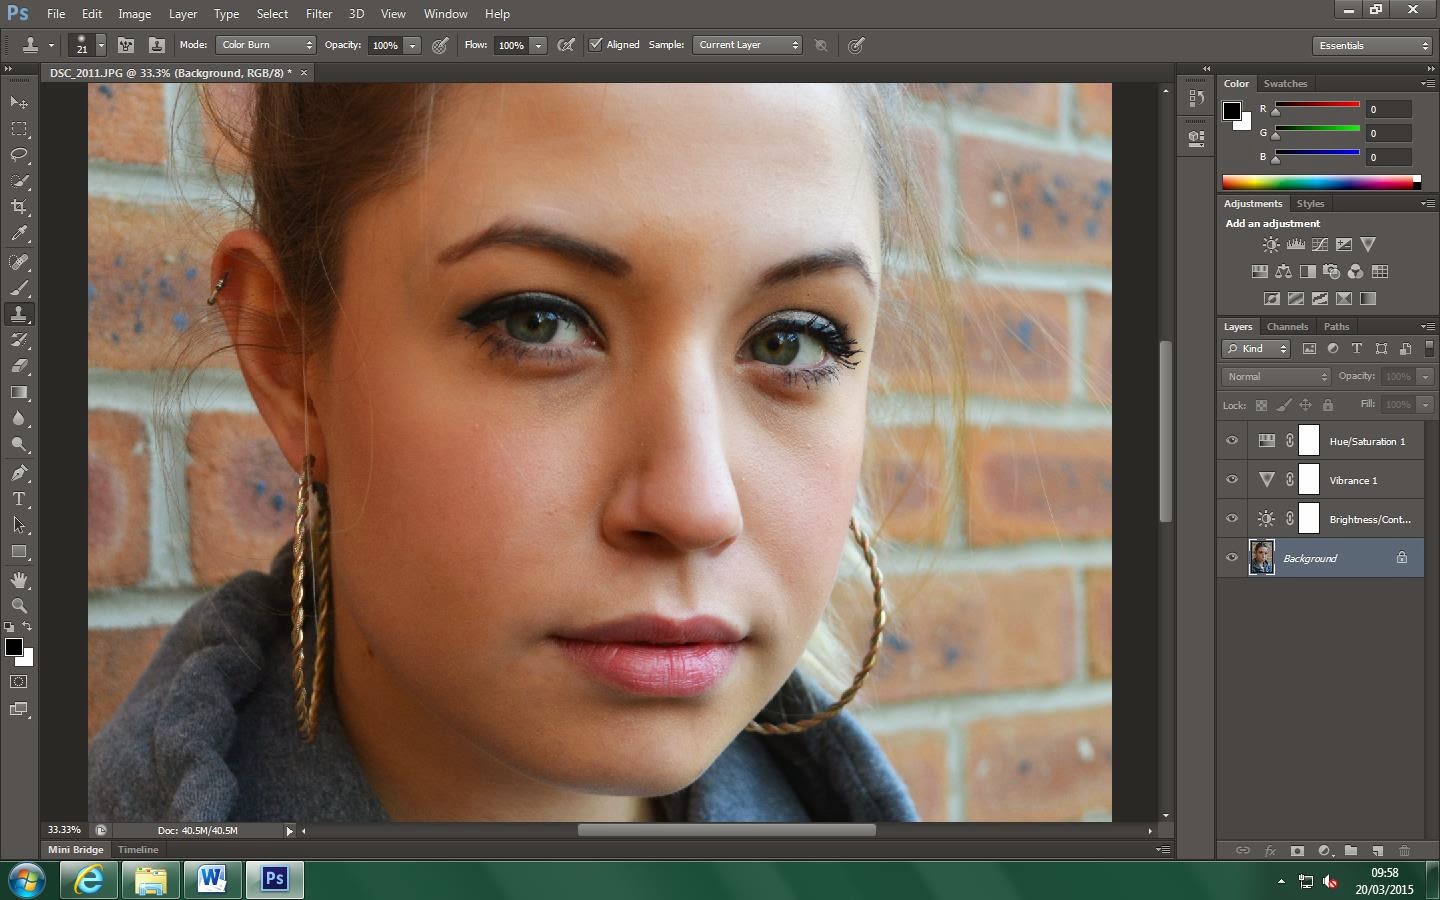
STEP SEVEN- I then blurred the background by duplicating the layer and adding a blur mask to the duplicate, I then used the rubber tool to erase the parts that i didnt want to be blurry, being the face, body and hair. This is the outcome.

No comments:
Post a Comment